When Sarah noticed the brown ring forming around her front lawn’s sprinkler heads every summer, she guessed the system was spraying too much and too often. With a small vegetable patch beside the driveway that wilted by noon, she needed a plan that saved water and targeted thirsty roots. This guide walks through real homeowner scenarios and shows how to match the right drip setup to each watering problem so you stop wasting water and keep landscapes healthy.
Problem: Over-spraying your lawn — Solution: Convert high-use zones to targeted drip and adjust scheduling
Many older pop-up sprinkler systems blanket sidewalks and driveways as well as grass, losing water to evaporation and runoff. If your lawn has runoff after 10–15 minutes of watering or puddles form near curbs, you’re wasting water. A homeowner with a 1/4-acre yard in a warm climate cut visible runoff by switching beds and border zones to low-flow drip and shortening sprinkler runtimes.
Step-by-step: Retrofit borders and beds
- Map the yard by zones: identify turf, beds, and irrigation overlap areas. Use a simple sketch and note run times and which heads spray hard surfaces.
- Turn off sprinkler heads that water beds and replace them with inline drip tubing or emitters rated 0.5–2 GPH (gallons per hour). This delivers water directly to roots instead of the air.
- Install pressure regulators and filters on drip lines to keep emitters performing efficiently (many home water supplies exceed the 25–30 PSI optimum for drip).
- Reduce turf sprinkler run times by 30–50% initially and monitor soil moisture with a screwdriver or inexpensive soil probe; adjust as needed.
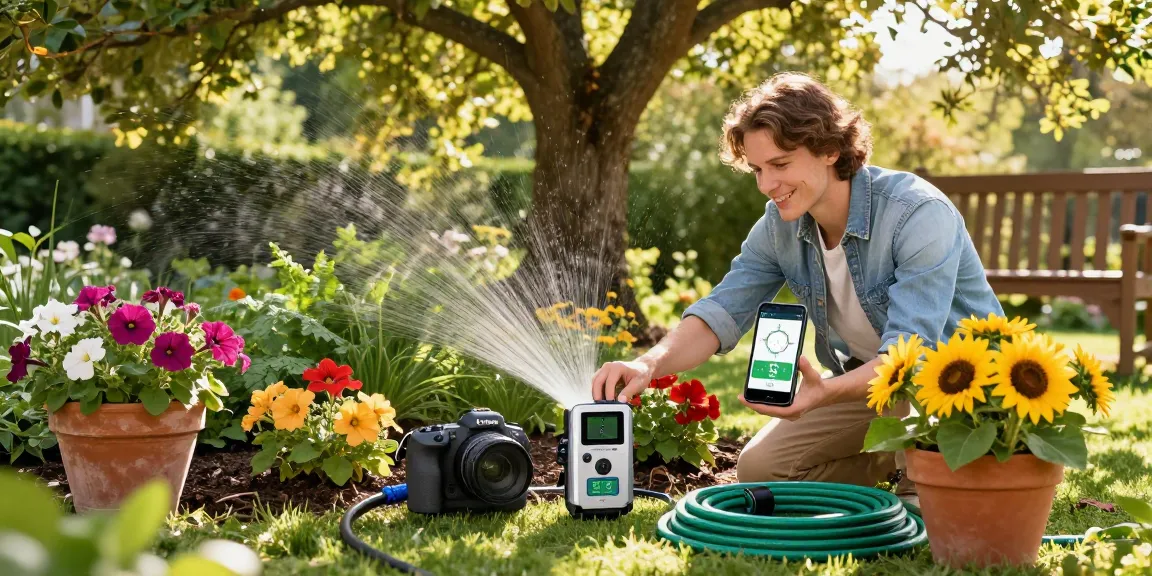
A WiFi timer such as the RainPoint model lets you set shorter cycles and multiple start times (cycle-and-soak) so water soaks in rather than running off. According to EPA WaterSense information, smart irrigation controllers can reduce outdoor water use by up to 25% or save roughly 8,800 gallons per household per year in some climates — savings come from smarter scheduling and zone-level control (source: EPA WaterSense). For homeowners who want to learn how drip irrigation reduces water waste, swapping bed spray for drip is a high-impact first step.
Problem: Vegetable beds that wilt midday — Solution: Install a dedicated drip kit for precise root watering
Vegetable gardens need steady moisture at the root zone, not aerial wetting that increases fungal issues. Maria’s raised beds (4’ x 8’) would dry out by mid-afternoon if watered only in the morning with a hose. She switched to a basic drip-kit layout: 1/4" microtubing with 1 GPH emitters spaced at each plant. The result was more consistent harvests and less water use.
How to set up a vegetable drip system
- Choose the right kit size — a 4-6 row kit for multiple raised beds or a modular kit for single beds.
- Position emitters within 2–4 inches of the plant’s main stem for young plants; as roots expand, you can add additional emitters farther out.
- Run watering cycles twice daily for short durations during hot spells rather than one long soak; for many vegetables, 20–30 minutes in the morning and 10–15 minutes in late afternoon keeps soil evenly moist.
- Use a pressure regulator (typically 25–30 PSI) and inline filter to protect emitters from clogging with sediment or fertilizer salts.
As an example figure: a gardener using 1 GPH emitters on 20 plants running two 20-minute cycles per day uses roughly 13.3 gallons daily (20 emitters × 1 GPH × 0.666 hour), versus a 15-minute run of a hose with a flow of 5 GPM that wastes over 75 gallons. Precise drip irrigation gives you control and predictable water use.
Problem: Flower beds and shrubs getting shallow water — Solution: Use low-flow root-zone drip for longer, less frequent watering
Shallow, frequent watering encourages surface roots and weak plants. Jeff had hydrangeas in a mulched flower bed that looked thirsty despite daily light sprinkling. Replacing overhead spray with 0.5–1.0 GPH in-line emitters and switching to longer, less frequent cycles improved deep rooting within weeks.
Design tips for flower beds
- Choose emitter spacing and flow by plant size — shrubs need multiple 1–2 GPH emitters placed around the drip line; perennials often do well with inline drip lines at 12" spacing and 0.5–1 GPH output.
- Mulch beds heavily (2–3 inches) to reduce evaporation; mulch plus drip often cuts water needs by half compared with sprays.
- Set schedules to water less often but longer — for many shrubs in summer, twice weekly with deeper saturations is better than daily light spray.
Plant TypeEmitter FlowTypical Run TimeAnnuals/Perennials0.5–1 GPH20–40 minutes, 2–3x/weekShrubs/Small Trees1–2 GPH (2–4 emitters)40–60 minutes, 1–2x/week
Simple scheduling plus the right emitter placement will keep roots deeper and improve drought resilience. A small investment in a controller that supports multiple zones makes this easy to manage.
Problem: Potted plants dry out quickly — Solution: Add slow self-watering and micro-drip solutions
Pots have limited soil and evaporate water rapidly. Tom’s container herb garden required daily hand watering until he installed a slow self-watering system with 1/4" tubing and micro-sprayers set at low flow. Now his pots stay evenly moist for days.
Potted plant watering options
- Self-watering spikes or reservoirs: simple for single pots; release water gradually over several days.
- Micro-drip lines with 0.5 GPH drippers: run 15–30 minutes every other day depending on pot size and sun exposure.
- Capillary mats or soil-wicking tubes: good for many small pots on a patio bench.
A WiFi timer from RainPoint can handle multiple brief micro-drip cycles throughout the day so pots get gentle, frequent moisture without manual labor. For example, scheduling three 10-minute micro-cycles spread through the afternoon mimics more frequent hand watering but uses far less water because the flow rates are low and targeted.
Maintenance, measurement, and smart control to stop wasting water
Installing drip is only half the battle — regular checks and smart scheduling keep savings real. A homeowner in Phoenix who combined seasonal adjustments with emitter checks reduced summer outdoor water use by one-third in the first year.
Maintenance checklist
- Inspect emitters monthly for clogging; flush lines seasonally.
- Check pressure (use a gauge at the start of the drip line); add regulators if pressure exceeds manufacturer recommendations.
- Use a soil moisture meter or simple probe to confirm watering depth — aim for 6–8 inches for lawns and 8–12 inches for shrubs.
- Adjust schedules seasonally: cut back run times in cooler months; increase during hot spells.
Smart controllers and timers that use local weather data or soil sensors can automate seasonal adjustments. According to university extension recommendations, adjusting irrigation by watering depth and frequency rather than simply lengthening run time prevents both overwatering and underwatering (for example, University of California Cooperative Extension resources). When you pair targeted drip with a smart schedule you get consistent savings and healthier plants.
If you want resources and step-by-step kits tailored to different yard sizes and plant types, check how other homeowners learn how drip irrigation reduces water waste and choose the right combination — from simple pot wicks to full bed and shrub layouts. RainPoint is a useful starting point for choosing controllers, timers, and drip components that match your yard’s needs without guesswork.